Ok, so back on track a bit with the sewing-my last post taking a few weeks to finish as I somehow got 2/3 of the way through writing it then forgot about it ..oops.  I’m almost done with the first chemise of a whole bunch, I’m sure, to come since we need as many of those as we need underwear, since they are underwear!
This particular page was what I found during my seemingly endless search for a chemise pattern for the right era without having to buy a $20 pattern. So simple right? Well, I thought so too, until I started with the gore, but more on that later. Since I’m attempting to provide information that I have had a hard time finding as a way to flesh out the interwebz resources, I’ll start from the very beginning, materials-
– 3.5 to 4 yards / 3.2 to 3.7 m of lightweight linen, I chose a hankercheif linen from fabric.com 60%linen, 40% cotton 53 inches / 135cm wide: it shrank down about 3 inches / 7.5 cm after washing so I was left with 50 inch / 127cm wide fabric.
– silk thread which I was able to find at Joanne’s, but I’m sure it could be found cheaper other places, I just happened to get it on sale. I chose silk because I was worried linen thread would shrink. (So far, one 80m spool should do it)
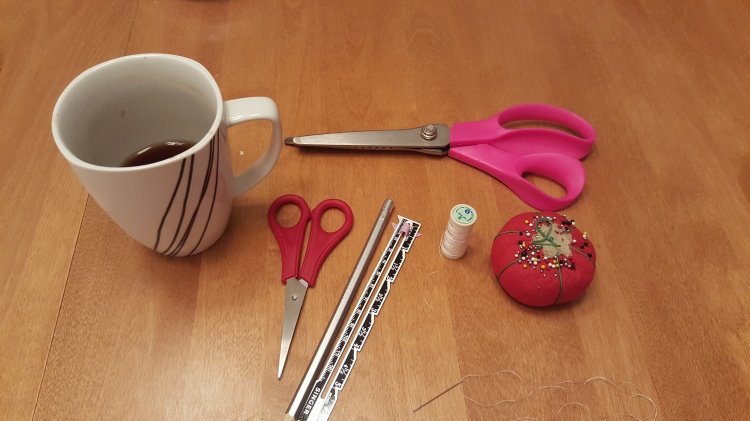
– seam gauge, pinking shears (do not skip unless you want to wear little pieces of linen threads the whole time your working!) fine sharp needle (I used a size 5 Sharp), pins, marking pencil and thread scissors….coffee is optional, but highly recommend.
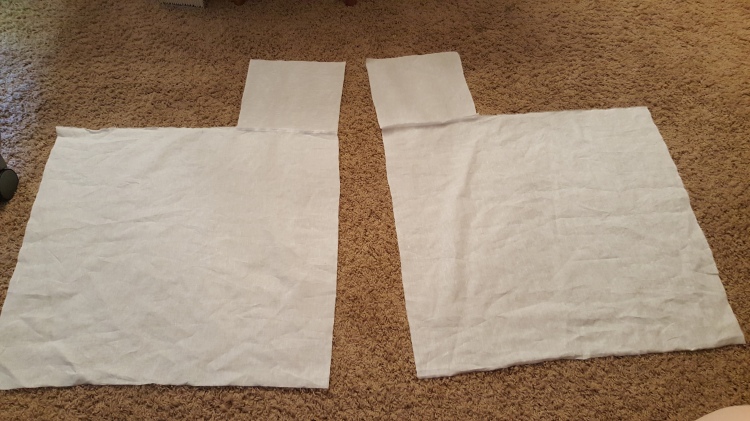
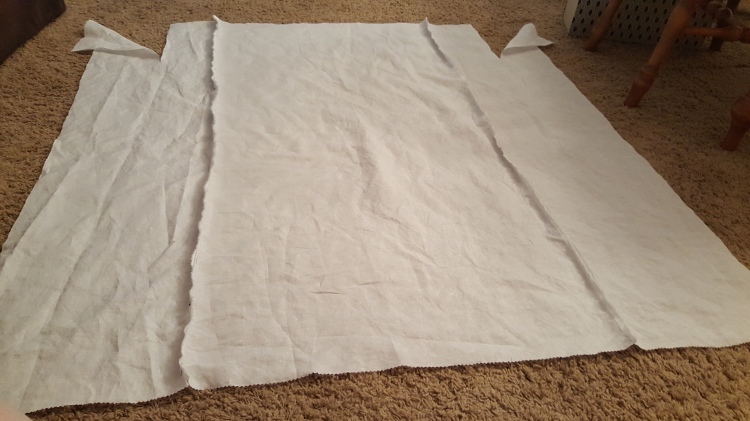
So now we need the measurements- the length I used is 47 inches / 120 cm and the arm length I used is 26 inches / 66 cm. I folded my fabric so I would only need to cut in half measurements- my table is not that big. Per the article, normal loom widths were about 28 inches/ 71 cm so I cut my fabric width in half…a little short, but I think it’ll be ok, and will work for my purposes.
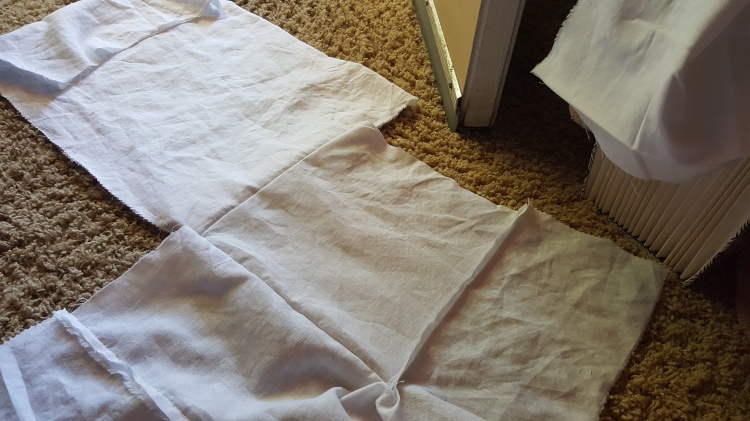
I’m left with 2 panels 25 inches / 63.5 cm by 47 inches / 120 cm, two panels 25 inches / 63.5 cm by 26 inches /66 cm and two 10 by 10 inch / 25 by 25 cm squares.
Before you start, also decide what kind of seam you plan on using, french seams and flat felled seams are both period correct, as this will determine how you pin your fabric together. I started by attaching the gore to the sleeve wrong sides together since I’m using a French seam – **note on this, make sure you’re attaching the right hand side (RHS) gore to the RHS sleeve on the lower LEFT corner and vice versa- left hand side (LHS) gore to LHS sleeve on the lower RIGHT corner. I realized after attaching these to the body that if you are marking right side/wrong side of your fabric, or have any discernable ‘back’ to your fabric, you could get stuck if the gores get attached to the wrong corners.
Next I attached the two side panels to the main body or center front panel, again, wrong sides together. I now have a full front panel and two sleeves.
The sleeves are next. So starting with the corner of the gore pointing into the slit cut in to the side panel – the side panel being squared and the gore turned so it’s a diamond – I attached the RHS side of the LHS gore to the RHS of the slit, and then did the opposite on the other sleeve.
(I don’t have a picture of this at this time, but will edit when I have one in the future – I already have plans for a new chemise in the same ‘pattern’)
From here we have to turn the whole thing on its front so we’re looking at the wrong side. I folded the side panels in half vertically along the line wh r e the slit was cut, the folded the gore corner to corner so it was shaped like a triangle, broad, folded side facing outward. At this point I attached the other side of the gore in the same way I did the front.
Folding the sleeves came next and this is where my brain suddenly turned to mush: I had to rip the damn sleeve seam three times to get it right! So, when you have the piece laid out like we just left it, right side of the center front down and the side panels and gores folded (now sewn) in, the sleeves should get folded down from the top in half towards you so you’re looking inside the sleeve as you fold. This will keep all of the seams on the same side and make sure that the gore is fully attached the way it should be.
I’d goofed the first time folding the sleeves from the side in…so not right.
Then I goofed on one of the sleeves folding it away from me which would have put the seam on the outside of the finished garment…
I swear, I can do this, I’ve made corsets before, though I’m still and amateur, I just apparently get stumped by simple geometric shapes.
Anywho.
The last step is just getting the center back panel sewn in and voilá! A pieced garment. More on the finishing touches on the next blog.
Thanks for reading!